Posts

A slicker shifter

Image
 Wow.  Almost 6 years ago I posted about the shifter mechanism I designed to adapt the stock automatic shifter for EV use.  In those 6 years my CAD abilities have improved dramatically and I've upgraded my 3D printer to a Bambu H2D.   I was never happy with the feel of the detents of the first version so I set out to improve it. Basically, I used off-the-shelf threaded ball-spring detents and slick UHMW plastic to eliminate the inconsistencies of the offset bearing design from before.  The new design is better and described in the video below.

Turning up the Heat

Image
 After a couple years of lost focus, I'm starting to make progress again.  One area that I've been undecided about has been Heating, Ventilation, and Air Conditioning (HVAC).  One main decision to make is whether to use the original heater core and A/C evaporator and blower fans or to go with an aftermarket unit.  The other is whether to add cabin heat at all.  I know I want/need A/C but in Southern California do I really need heat?  I didn't add heat to the silver CSE and Alex has been complaining about how cold it gets. I made a list of pros and cons for and against the stock heater/ac and in the end decided on aftermarket.  And heat.  I also decided I'd add heat to the silver car, which will further delay my build. I used the Restomod Air Vapir 2S in the silver car.  They've since come out with the Vapir 3S, which has floor heating and better defroster duct design.   We're also using that unit in Sam's customer build but Bre...

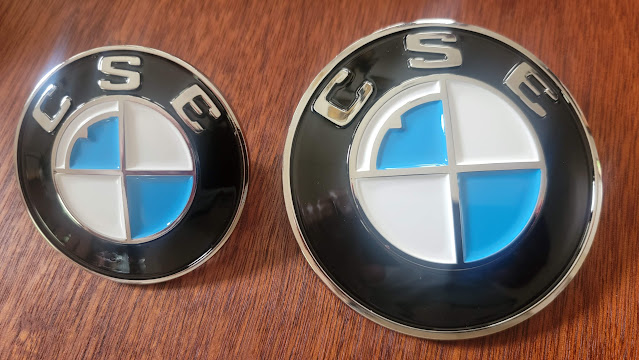
We really don't need any stinkin' badges. But they're awesome!

Image
My priorities are all wrong.  The car still needs a restoration and at the moment isn't even moving under its own power but I got side-tracked.  In my defense, this all started over two years ago, when I had more momentum on the project.  And it isn't uncommon for auto restoration projects to start with parts accumulation.  Often they end before completion but I'm hoping that's not the case here.  But I digress (again).

Better battery Box

Image
Picking up from " Danger Low Voltage! ".... After the batteries drained while sitting I decided to make some improvements to the battery box.  The acrylic see-through top was neat but it was unnecessary to see through the sides of the " aquarium " and the acrylic panels weren't very strong and cracked easily so I decided to change to aluminum everywhere except the top.  

Different strokes

Image
As you probably know, I'm not converting just one BMW 3.0 CS coupe to Tesla power but two.  One for me and one for my son-in-law, Alex.  In fact, I'm involved in a third project for a customer as well.  Brett Perkins at P3 Conversions is handling that build and I just consult a bit but I thought it would be interesting to compare how each project has tackled similar problems in different ways. 

Danger! Low voltage!

Image
Two and half years of neglect haven't been kind to my batteries.  While I was finishing up the silver car, my car just sat in the garage.  Actually, I pirated some fuse box parts from it use on the silver car so it wasn't even drivable any longer.  When I finally got around to working on it again, I relocated the BMS from the ill-conceived "bubble" into the trunk area.  But when I tried to test the BMS wiring, I found that all my batteries were well below desired voltage.  As a result, the BMS refused to charge the pack.

One CSE on the Road

Image
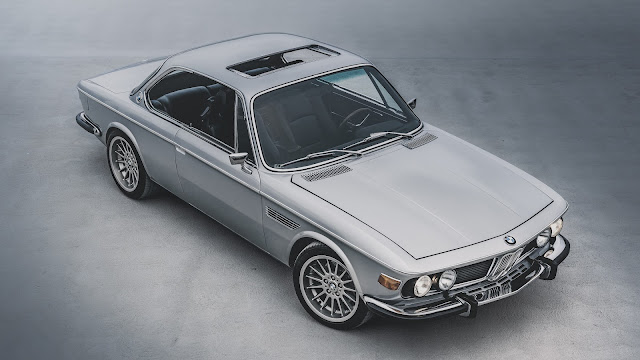
As I've mentioned before, my CSE project has taken a backseat to finishing the first CSE for my son-in-law.  That car (I'll call it the Silver CSE from here on, versus my Blue CSE) was started by Paul Dexter and was the initial inspiration for my car.  It was on the road as a full Tesla-powered EV, albeit in primer, for most of 2021.  In late 2021 my son-in-law purchased the car from Paul with the promise of having me finish it.   Sizzle Reel - click to view

EV Why?

Image
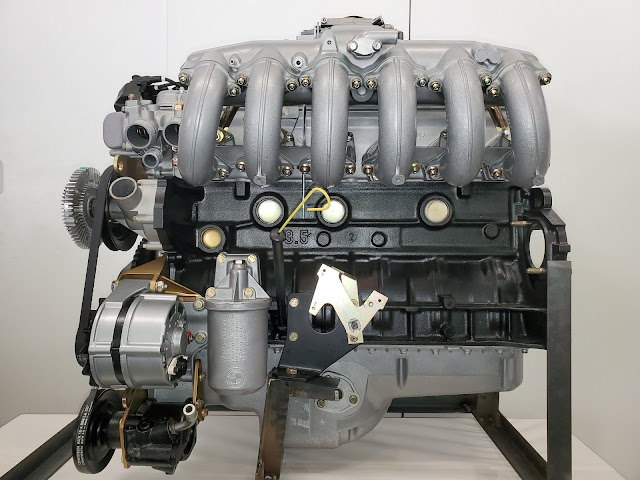
You may be wondering why go through all the trouble to convert an old car to electric power? Sure, there are environmental reasons, instant torque, and a quiet/clean driving experience.  But, truth be told, I did it because I wanted something unique.  Prior to deciding to go Tesla, I had been building up an M30B35 gas engine for my car.  This is a motor from a more modern,  late 80s-early 90s BMW.  

Where'd you go?

Image
It's been almost a year since the last post. Bad blogging. Here's why: I've been working on finishing the other BMW CSE. And now it is done!  (Well, is a project like this ever really done?)

Is 3D Printing for me?

Image
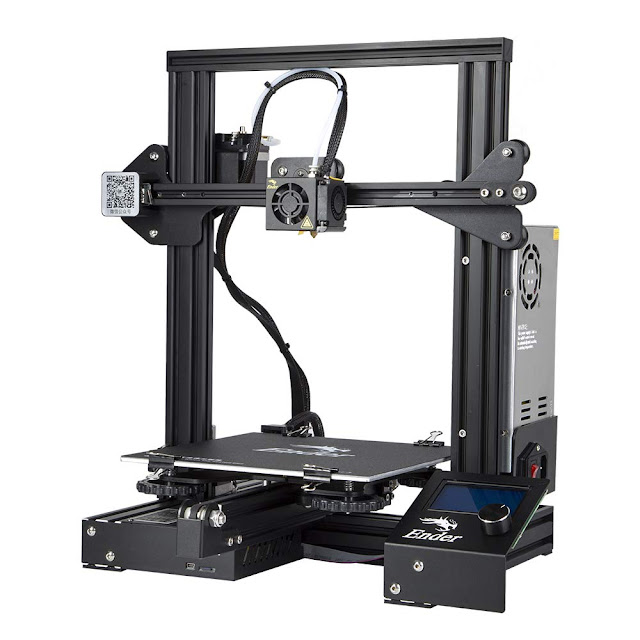
My daughter bought me my first 3D printer as a Father's Day gift.  It was a  Creality Ender 3  , which is the printer I recommend for beginners, and one that I still use all the time myself.  Others may have different recommendations but, at $169, it is a great value and very popular so there are a ton of support resources out there.  In the overall scope of tool costs it really isn't that much cash, especially considering its versatility. The Creality Ender 3

Metal Finishing, Finished

Image
I had my painter, David, come out to take a look at the progress on the bodywork.  The idea is to make sure we've got the metal as close as necessary to minimize the use of filler.  Overall, he was impressed with Tyler's work but wanted more attention paid to the hood, roof, and deck lid.

Dressing up a Rocker

Image
As mentioned in Ugly Bumpers No More , I'm not a fan of rubber protection strips on my cars.  Not on bumpers, not on doors, and not on rocker panels.  BMW 3.0 CS coupes have a metal rocker cover with a big rubber strip along the top, below the door.   In stock trim, it is painted with a black pebbled stone-guard finish, making the paint color stop about 4 inches above the bottom of the car, thus visually raising the ride height.  

Love that battery

Image
There are 350 DC volts of Telsa LiIon batteries in my car but I need a 12 volt source to kick off the electronics that energize all the complex systems such as the precharge controller and traction contactors.  Therefore, I use a small LiIon 12v battery designed for a motorcycle.  The problem is, I keep some things, like my Raspberry Pi gauge computer constantly running so that everything works instantly at the turn of the key and that drains the little 30 Ah battery pretty quickly, like in a day or two.

Butt ugly bumpers no more

Image
In my humble opinion, the BMW coupes were designed for thin chrome bumpers.  That's how they were originally drawn and built in the guise of the late 60s 2000 CS coupes.  When the larger 6 cylinder engine was installed, BMW put rubber strips and bumper overriders onto the bumper, ruining the clean look.  Even worse, US safety requirements forced BMW to pull the bumpers out away from the body to absorb 5 MPH bumps without damage.  Practical perhaps, but ugly.  Butt ugly.

Metal finishing, not finished

Image
The car is back with Tyler to finish the metal finishing.  This will address a lot of the remaining issues, and some new ones.   The idea is to minimize any body filler required for paint.  At this point there isn't a drop on the car.  It is all steel.  

Cardboard to CAD

Image
I discussed how I was able to gain clearance for my hood and battery box in the Good Under the Hood post but now I had to turn my attention to holding it up when open.  The factory support is a large complex torsion tube that runs the entire width of the engine compartment.  Because it goes across the entire engine compartment it would hit my battery box.  Plus, it is complex, dangerous, hard to paint, etc. and Paul had already figured out the geometry of switching to modern gas struts instead. Original hood prop system has torsion springs in a tube with arms (all the black stuff) Paul's car swapped to simple, lightweight gas struts I didn't love the welded brackets on Paul's car so I made a cardboard template to locate the pivot point and used that to make a model in CAD.  Instead of requiring welding, m...

Bugs, bugs, and more bugs

Image
The car is running but there are a lot of electrical gremlins that I need to find and fix.  Now that I have the car home, I'll have time to work on all these.  

Good under the Hood

Image
When I went to install the hood it wouldn't close.  One of the underhood braces interfered with the battery box.  Some surgery was required.  We bolted a brace to the hood so that the shape wouldn't be altered and then cut out a portion of the brace, leaving as much depth there as possible to maintain strength.  We took the cut out portion and flipped it upside down inside the void to reenforce the area and then filled it with some crumbled up aluminum foil.  We reinstalled the hood and closed it to make an impression in the foil.

We be Charging

Image
The EV conversion is basically done now.  Last week I had some problems getting the car to charge but now that's fixed and the car charges perfectly.  With that, all my EV systems are working and there really isn't much more EV-related left to do.

First Car Show

Image
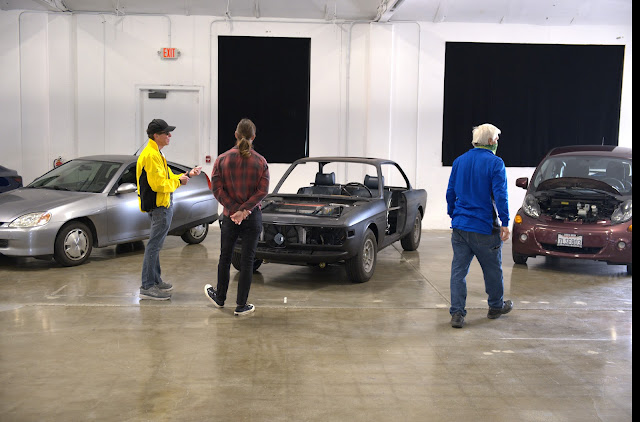
 I took my CSE to its first car show last Saturday.  This was an all-electric gathering called Autopia2099 .  I drove my car in and out of the show but, since it doesn't currently have a windshield, doors, etc., I trailered it and unloaded nearby.  Still, it was great to drive and show off a work in progress to fellow EV enthusiasts.