The blog for conversion of vintage BMW 3.0 CS coupes to Tesla powered electric vehicles
We really don't need any stinkin' badges. But they're awesome!
Get link
Facebook
X
Pinterest
Email
Other Apps
-
My priorities are all wrong. The car still needs a restoration and at the moment isn't even moving under its own power but I got side-tracked. In my defense, this all started over two years ago, when I had more momentum on the project. And it isn't uncommon for auto restoration projects to start with parts accumulation. Often they end before completion but I'm hoping that's not the case here. But I digress (again).
Early on in the "Coupe, Sport, Electric" process, Paul had designed a super subtle but very cool logo. It incorporated cues from both the traditional BMW "Roundel" logo and the Tesla "T" logo and combines them with the font from the BMW 3.0 CS trunk emblem.
Paul's original design
I thought it would be cool to use this design for the actual emblems on my car so I modeled it up in CAD. There are two sizes, one for the nose and trunk, and another for the C-pillars. The C-pillar roundels live right behind the famous "Hofmeister kink" and float in a super cool "satellite" chrome trim.
C-Pillar Badge and Hofmeister Kink
The trunk emblem has a contour to the bottom side that conforms to the curve of the deck lid. In early cars, the nose emblem sat in a chrome trim ring that raised its profile a bit. Rather than design different versions for the nose and trunk, I decided to model a similar trim ring for the trunk that has the curved deck lid profile cut into the bottom.
Designing the logos in Fusion 360 was a challenge for me. I had to learn how to import fonts, extrude onto curved surfaces, render with chrome effects, etc. but it was a fun learning experience. With the emblems designed in CAD, I sent them to the 3D printer to test fit.
I always knew I wanted them in metal so 3D printing wasn't the final answer but I thought maybe I could print blanks to use for sand casting. Unfortunately, the print lines from the printer were just too visible and impossible to sand out around all the letters, etc.
3D printed prototypes (center) next to original BMW emblems
Over the years, the finish on the original BMW emblems have changed. In early cars, the cast metal was painted and the ribs and letters were prominent. Later, they changed to a "cloisonne" finish where the surface is smooth. And newer versions of the emblems are now plastic or have incorrect colors (purple instead of blue). I wanted to shoot for the early look but with super-smooth paint (no brushstrokes). Even if I figured out how to cast my own metal (which I don't have the equipment to do), I'd still be faced with the painting issue.
Original emblems. Like I said, I didn't "need" any new badges.
Instead, I searched the Internet for companies that make short-run cloisonne emblems. Not easy to find. I ended up talking to Mike Follmer Specialities. He makes commemorative pins and badges for car shows, corporate events, etc. Fortunately, he's also related to famous racer George Follmer and is a car guy himself so he was up for the project. Unfortunately, he off-shores the manufacturing to China, which presented some big communication challenges.
I thought providing a pair of the original emblems, along with my 3D printed examples would be sufficient for describing what I wanted but it turned out to be more difficult than that. At first, the Chinese were hesitant to do the project at all, fearing a copyright infringement from BMW. Eventually, we were able to convince them this was a unique and new design. Then there was a lot of back-and-forth on critical dimensions, etc. I had to learn how to generate 2D drawings from my 3D models in Fusion.
2D Drawings
After a year and a half, the Chinese sent a video of a prototype. And it looked pretty darned great. But they weren't sure how they could paint it because the domed shaped would cause the paint to drip and pool if they used their normal process. Many months later they finally shipped two prototypes. Other than one section with the wrong color they were surprisingly nice.
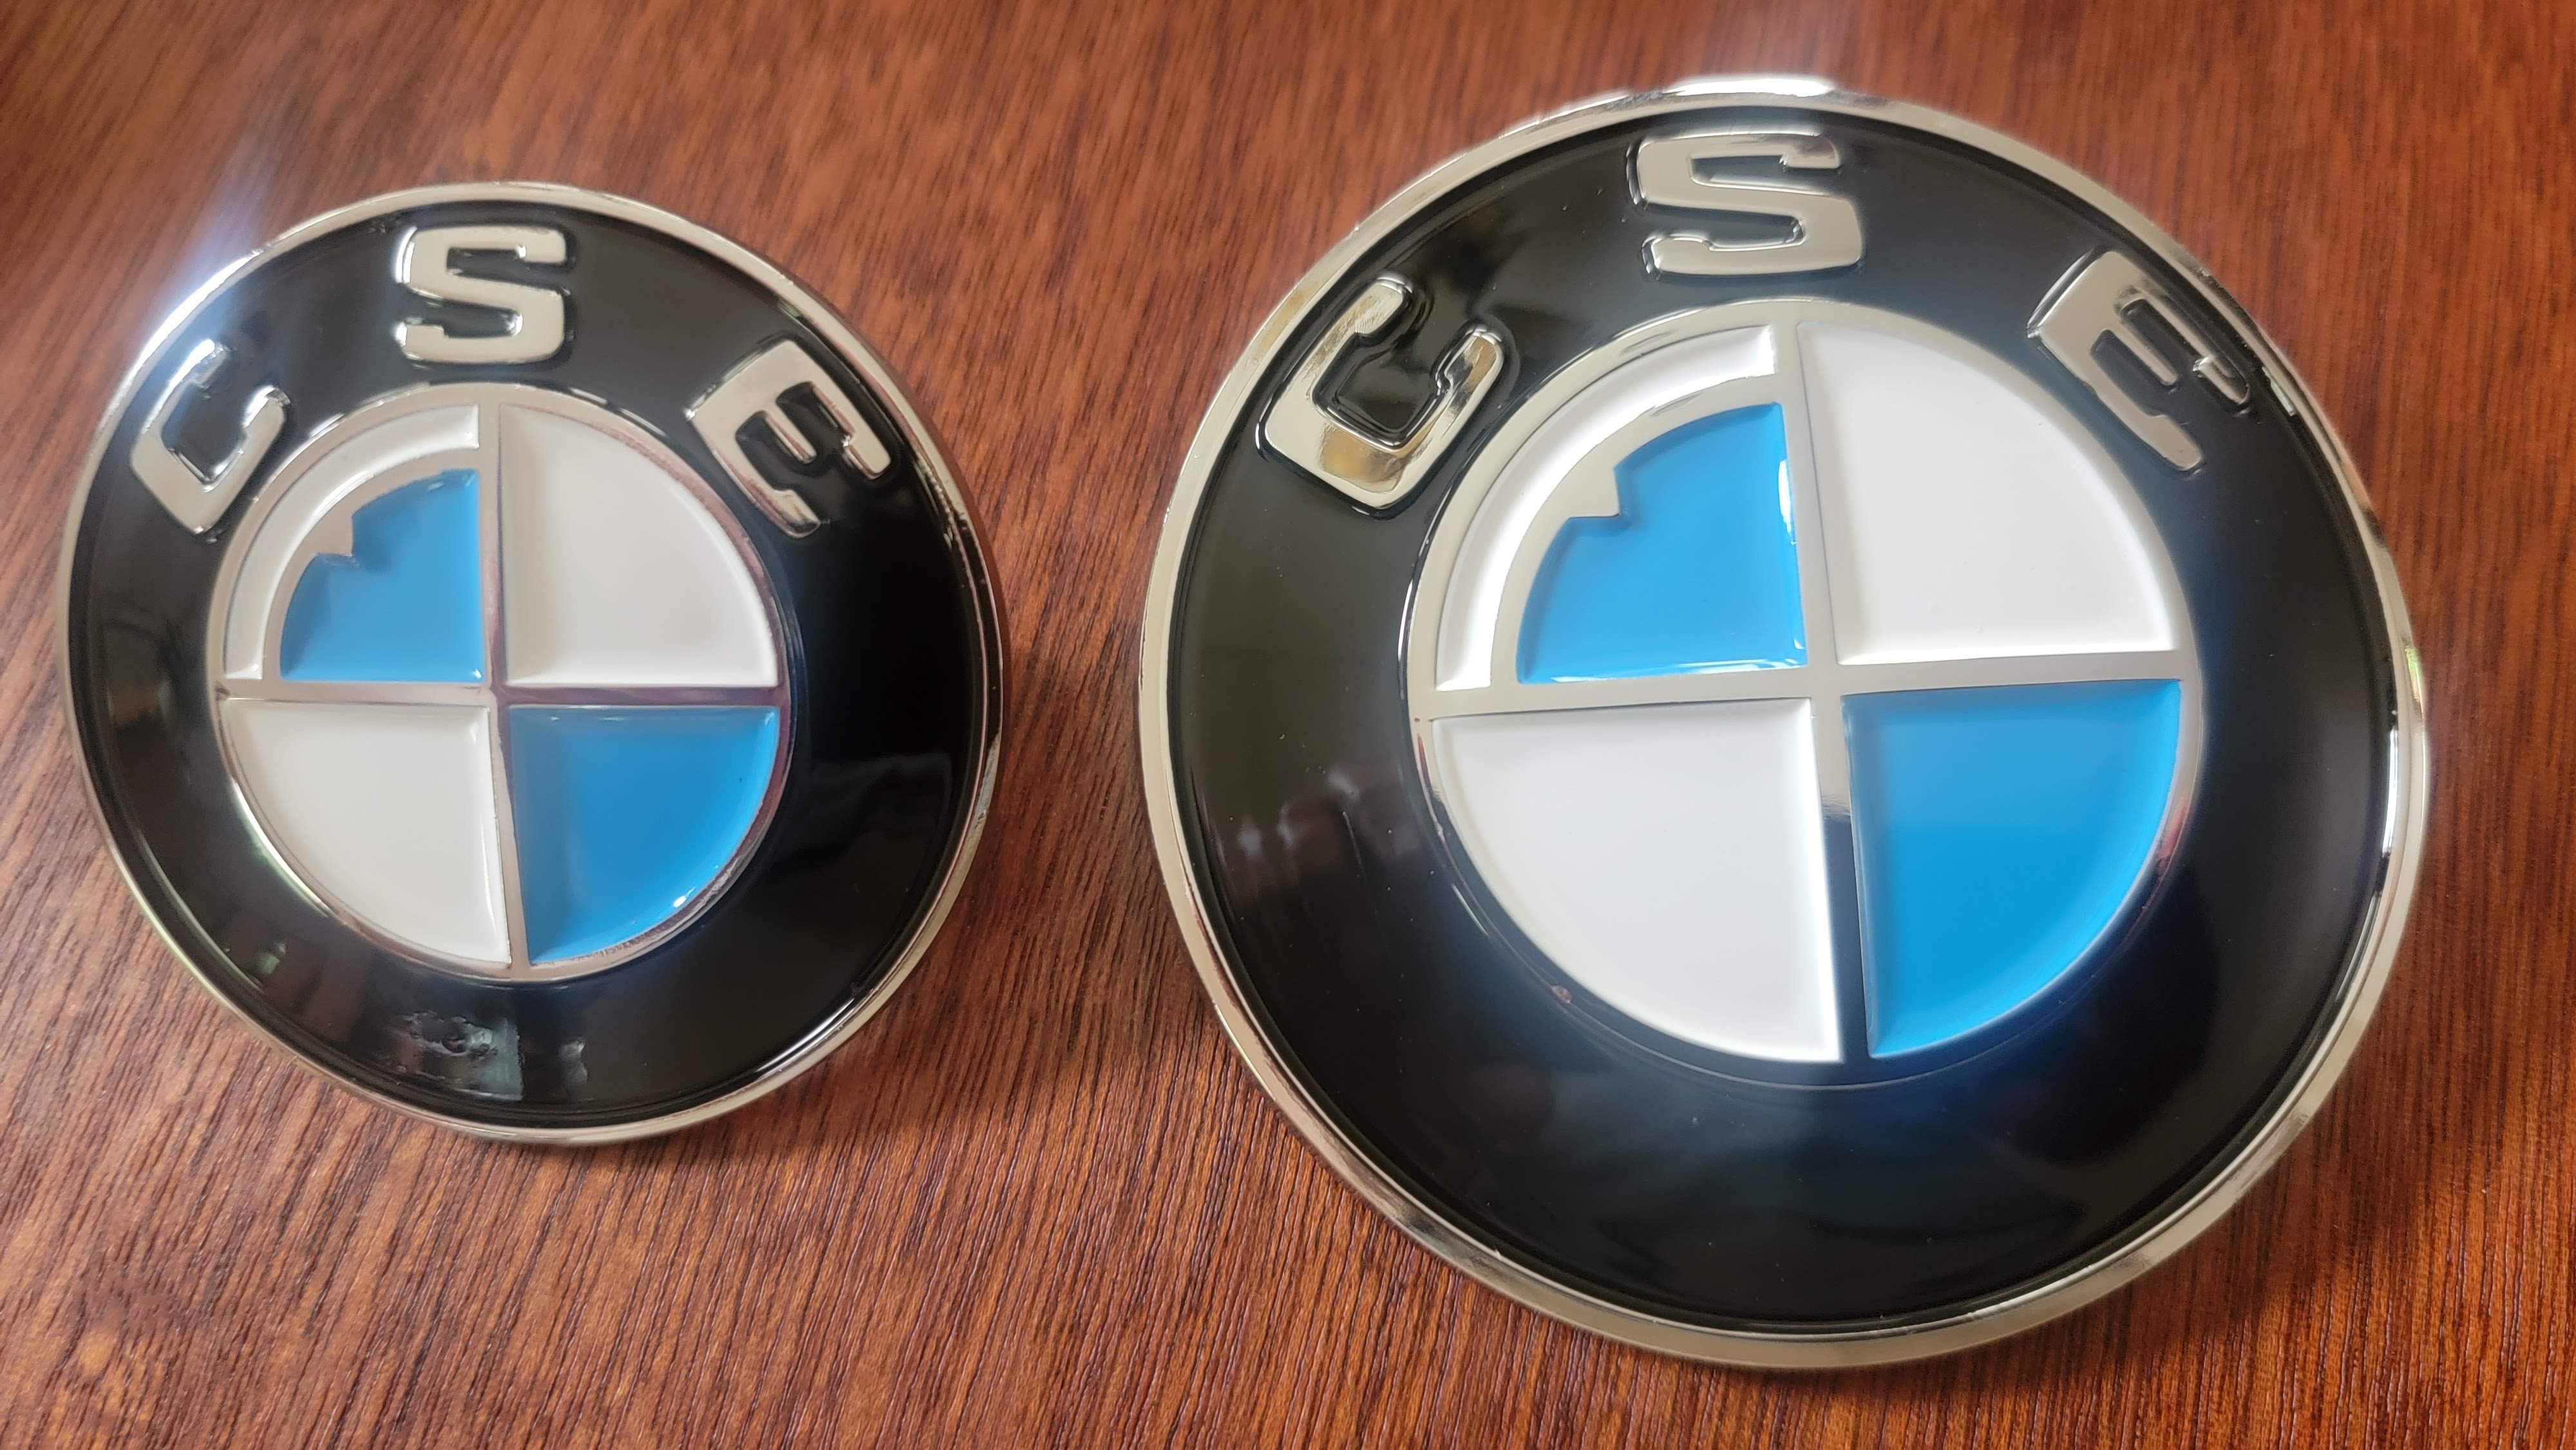
I approved the design and not long after I am the proud owner of 30 examples of the large and 30 examples of the small emblems. This is more than I'll ever need but that was the minimum order size and they look amazing!
30 is a lot more than I need
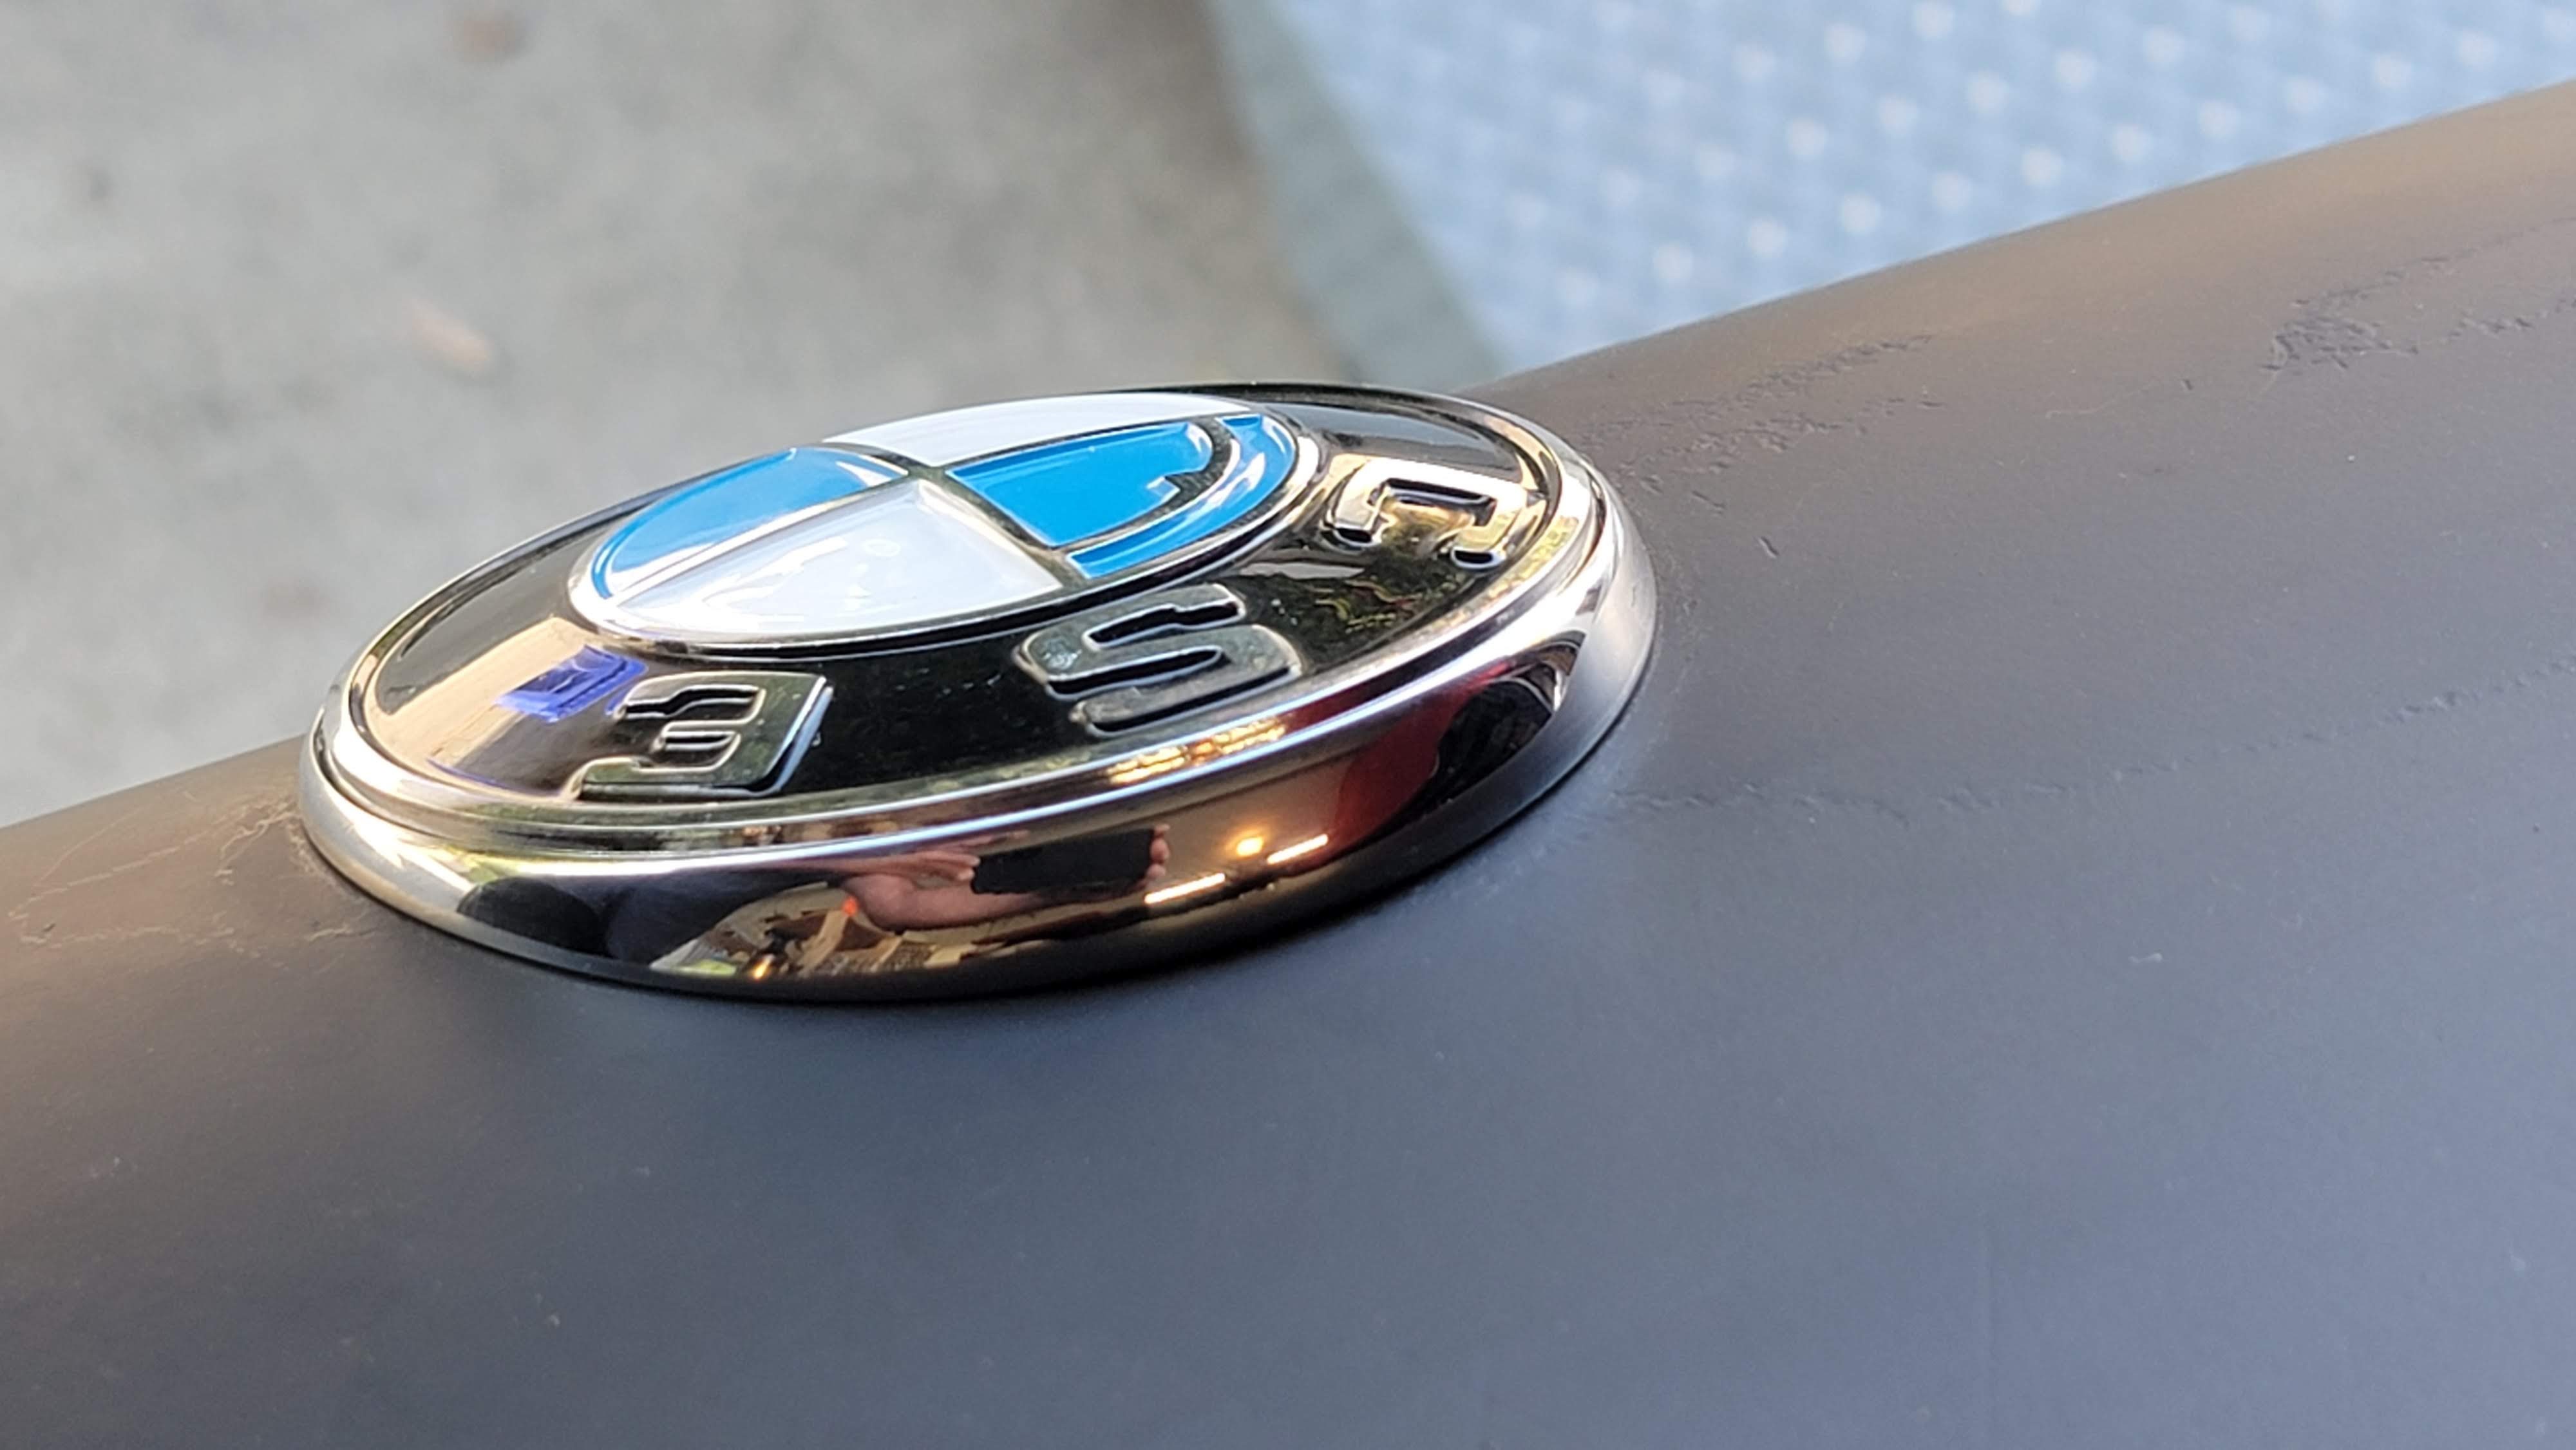
Once I had them in my hand, I was able to test fit on the car. The nose and c-pillar emblems fit perfectly.
The new emblem with the original bezel on the nose of the car
The bezel makes the emblem look so original
Then the problem was the trunk. The original trunk bezels are impossible to find so I had to make my own. This was a complex design, requiring curved profiles on all axis. I used a contour gauge to measure the curve of the trunk, then transferred that to paper and took a photo with a tape measure. I used a photo of an original bezel to get the side profile. Then I brought those images into Fusion 360 and calibrated them to size. Using those arcs, I was able to design a component to match.
Trunk curve transposed into CAD and calibrated
Plan view of the CAD sketch
Complex curves were extruded and revolved to get the final component
I love rendering chrome in Fusion 360
I 3D printed prototypes to verify fitment and then sent my CAD model to PCBWay in China to have it CNC machined out of 6061 aluminum and then chrome plated.
Fit to the trunk is verified via 3D print
3D printing is a great way to make sure the part fits perfectly before committing to metal
CNCing was cheaper than metal 3D printing and chrome plating wasn't an option with 3D printed parts. Ironically, it was also cheaper to have them machined than printed. The process was surprisingly easy. And reasonably priced at less than $60 each.
Photos from China of finished parts
The finish is even better than I had expected/hoped
I don't know how they managed to secure the part as they machined it, as it is quite delicate, but they did. The chrome plating was perfect and so much cheaper than in the USA. The final product is just beautiful and fits perfect. Best of all, there was no minimum order size so I just made two.
Look at that fit!
Having 30 emblems was a waste of time and money but I learned a lot and I just love manifesting my ideas in real physical objects. Maybe someday the car will be done enough to wear them.
You've read about the fancy digital dash app I've written that displays all sorts of information on a display in the hole that used to belong to the tachometer. But that still leaves four other analog gauges in the instrument panel: The speedometer, clock, fuel, and temperature gauges. These are old school VDO gauges that just look proper and cool so I want to make them all work with this new digital vehicle.
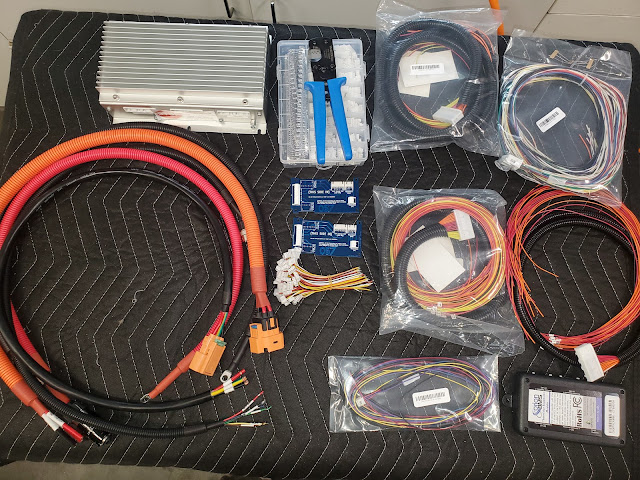
As mentioned previously, careless treatment of the Tesla battery modules can be catastrophic, leading to fire or other failure. Therefore, it is important to monitor the state of the cells to assure they are in proper temperature and charge or discharge. To do this, a Battery Management System (BMS) is required. I'm using the popular Orion BMS 2. The BMS protects and monitors a battery pack by monitoring several sensors and using several outputs to control charge and discharge into the battery. The BMS measures inputs from cell voltage taps, a hall effect current sensor, and thermistors. Using the programmed settings, the BMS then controls the flow of current into and out of the battery pack by broadcasting charge and discharge current limits via the CANBUS to the OnBoard Charger (OBC). During and immediately after charging, the BMS will balance the cells using internal shunt resistors based on the programmed settings.
Building a box to hold batteries sounds so simple. It isn't. The batteries have been in and out of my front box many times now. The latest reasons for disassembly were to relocate the BMS and plate the buss bars . While plating, we decided to do the buss bars in Paul's car also since the battery box is out of the car while the car is being painted. My box on the left, Paul's on the right It is interesting to see the two approaches to battery fitment side by side. Figuring out how to get 14 Tesla Model S battery modules fitted into a car designed for a gas engine and transmission is always the most difficult part of the EV conversion process. The big rectangular batteries just don't want to fit into the curvy voids of a normal car body.