Posts

Showing posts with the label 3D Printing

A slicker shifter

Image
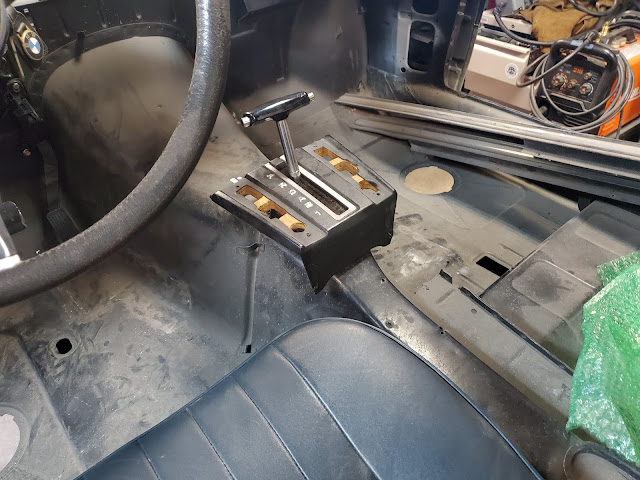
 Wow.  Almost 6 years ago I posted about the shifter mechanism I designed to adapt the stock automatic shifter for EV use.  In those 6 years my CAD abilities have improved dramatically and I've upgraded my 3D printer to a Bambu H2D.   I was never happy with the feel of the detents of the first version so I set out to improve it. Basically, I used off-the-shelf threaded ball-spring detents and slick UHMW plastic to eliminate the inconsistencies of the offset bearing design from before.  The new design is better and described in the video below.
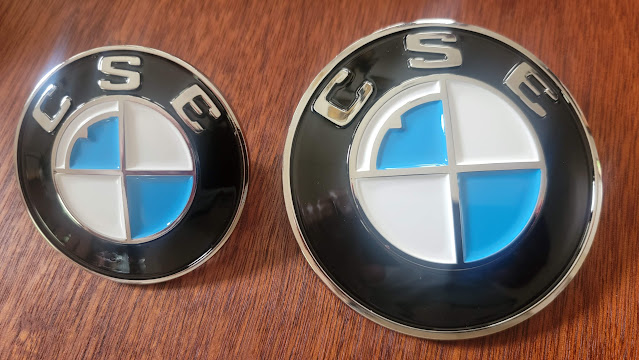
We really don't need any stinkin' badges. But they're awesome!

Image
My priorities are all wrong.  The car still needs a restoration and at the moment isn't even moving under its own power but I got side-tracked.  In my defense, this all started over two years ago, when I had more momentum on the project.  And it isn't uncommon for auto restoration projects to start with parts accumulation.  Often they end before completion but I'm hoping that's not the case here.  But I digress (again).

Better battery Box

Image
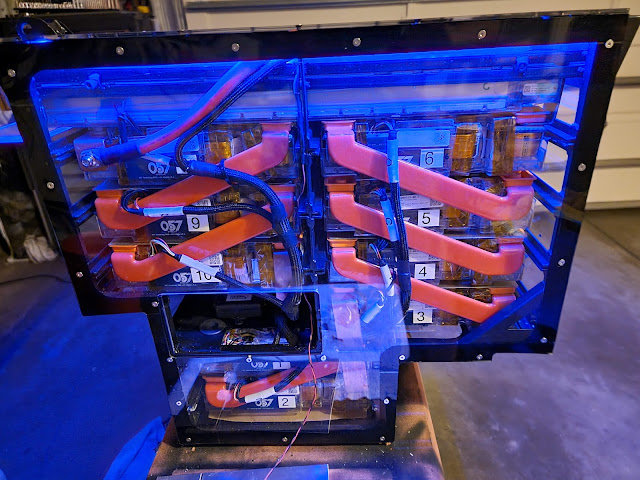
Picking up from " Danger Low Voltage! ".... After the batteries drained while sitting I decided to make some improvements to the battery box.  The acrylic see-through top was neat but it was unnecessary to see through the sides of the " aquarium " and the acrylic panels weren't very strong and cracked easily so I decided to change to aluminum everywhere except the top.  

Danger! Low voltage!

Image
Two and half years of neglect haven't been kind to my batteries.  While I was finishing up the silver car, my car just sat in the garage.  Actually, I pirated some fuse box parts from it use on the silver car so it wasn't even drivable any longer.  When I finally got around to working on it again, I relocated the BMS from the ill-conceived "bubble" into the trunk area.  But when I tried to test the BMS wiring, I found that all my batteries were well below desired voltage.  As a result, the BMS refused to charge the pack.

Is 3D Printing for me?

Image
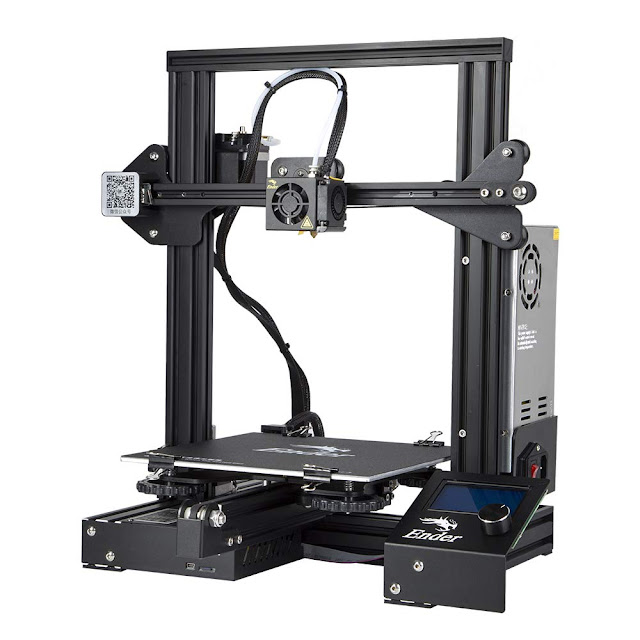
My daughter bought me my first 3D printer as a Father's Day gift.  It was a  Creality Ender 3  , which is the printer I recommend for beginners, and one that I still use all the time myself.  Others may have different recommendations but, at $169, it is a great value and very popular so there are a ton of support resources out there.  In the overall scope of tool costs it really isn't that much cash, especially considering its versatility. The Creality Ender 3

Cardboard to CAD

Image
I discussed how I was able to gain clearance for my hood and battery box in the Good Under the Hood post but now I had to turn my attention to holding it up when open.  The factory support is a large complex torsion tube that runs the entire width of the engine compartment.  Because it goes across the entire engine compartment it would hit my battery box.  Plus, it is complex, dangerous, hard to paint, etc. and Paul had already figured out the geometry of switching to modern gas struts instead. Original hood prop system has torsion springs in a tube with arms (all the black stuff) Paul's car swapped to simple, lightweight gas struts I didn't love the welded brackets on Paul's car so I made a cardboard template to locate the pivot point and used that to make a model in CAD.  Instead of requiring welding, m...

Good under the Hood

Image
When I went to install the hood it wouldn't close.  One of the underhood braces interfered with the battery box.  Some surgery was required.  We bolted a brace to the hood so that the shape wouldn't be altered and then cut out a portion of the brace, leaving as much depth there as possible to maintain strength.  We took the cut out portion and flipped it upside down inside the void to reenforce the area and then filled it with some crumbled up aluminum foil.  We reinstalled the hood and closed it to make an impression in the foil.

We're hosed

Image
Hoses and brake lines are a challenge on this Frankenstein project.   Brake lines a combination of metric DIN bubble flares and ISO imperial double flares, with a super odd metric double flare on the Tesla master cylinder.  Plus, the original ATW front calipers have two redundant circuits so the original master had 5 ports.  The Tesla iBooster only has two.  And the original rear-mounted proportioning valve isn't practical with this new setup.

Building the "Aquarium"

Image
When we showed Paul's car off at the La Jolla Independent BMW owners gathering in June, 2021 I realized that no one knew what they were looking at.  Electric conversions are still relatively rare and when we popped the hood to show the big aluminum "oven" that holds most of the Tesla batteries people asked questions like "is there a motor in there"?

Fitting a square display into a round hole

Image
Recall, I'm trying to add a digital dashboard display in the round hole normally filled by the tachometer of the stock BMW instrument cluster.  It is a gorgeous set of VDO instruments set in a French walnut real wood cluster.  I want to keep as much of the original look as possible but there is no need for a tachometer.  The speed of the Tesla motor is many times faster than a gas engine and basically irrelevant.  Instead, I'd like to know what gear I'm in, the state of my batteries, the most critical temperature of the components, my remaining range, output power, etc.

Shifting gears

Image
Gear selection in a Tesla drive unit is done electronically.  That's why so many electric cars have gear buttons instead of gear levers -- there's nothing physical that needs to move.  But, in trying to keep the original BMW aesthetic, I want to use the stock automatic transmission shifter to send signals to the Tesla drive unit.